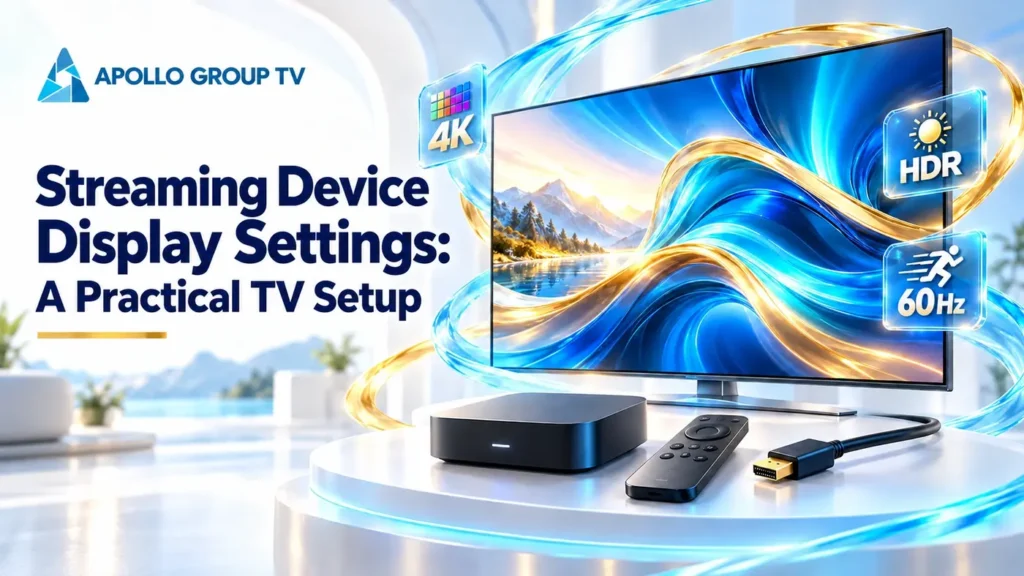
Streaming device display settings should begin with an output your TV can display reliably. Check the HDMI path, establish a visible picture, then assess resolution, frame-rate matching and color settings one at a time. These seven checks help you decide what to change and what to leave alone.
This guide covers video output from a separate streaming device connected to a TV. Keep the device’s display controls separate from the IPTV app’s playback controls: changing an app buffer does not configure the HDMI signal. Start with the device’s home screen so you have a reference before opening a video.
Menu names vary by device, software version and TV model. On Chromecast with Google TV and Google TV Streamer, open All settings → Display & Sound. The documented Google TV display settings cover resolution, dynamic range, color format and content frame-rate matching. Use your own device’s documentation for its equivalent controls.
Check 1 Map Your Streaming Device, TV and HDMI Path
Identify where the video signal travels. A device plugged directly into the TV has a different path from one connected through a soundbar, receiver or HDMI switch. Write down the device model, TV model, connected port and any equipment between them.
Select the TV input that corresponds to the physical HDMI port. Then bring up the streaming device’s home screen. If the TV’s own settings menu appears but the device’s home screen does not, you still need to establish the external video connection before judging an IPTV picture.
A visible home screen is your starting reference, not proof that every higher-resolution or HDR output mode will work. Note the current output format before changing it, and check whether your device offers a confirmation screen or a documented way to recover an unsupported mode.
Record first: the selected TV input, the current device output and whether the device’s home screen is visible. These observations make later comparisons meaningful.
Check 2 Choose a Compatible Output Resolution
Keep three things distinct: the resolution of the source video, the signal sent by the device and the TV panel’s resolution. A 4K output setting describes the signal leaving the device; it does not establish that the video contains native 4K detail.
If your device offers automatic display detection, assess that result before forcing a different mode. Compare the selected output with the TV’s supported input formats. Where the TV provides a signal-information display, use it to check what is actually arriving at the connected port.
A supported fixed mode can be useful when testing an output mismatch. Keep the comparison controlled: use the same input and video, change only the output resolution, and retain the new setting only if the picture remains visible and suitable for your setup. Avoid accepting a mode simply because it has the largest number.
The separate guide to streaming device resolution explains how to compare automatic and manual choices without confusing device output with source quality.
Check 3 Decide Whether to Match the Content Frame Rate
Video frame rate describes the source’s frames per second. Display refresh rate describes how often the screen updates, measured in hertz. Content matching can let a compatible device change its output cadence for the video being played.
Feature support depends on the device and app. Seeing a matching option in the device menu does not prove that every IPTV player uses it. Compare the same lawful test clip with the option enabled and disabled, keeping resolution and other controls unchanged.
Watch steady movement, such as a slow pan in your own recording. Look for a repeatable difference rather than assuming that every pause is a frame-rate problem. Also observe whether the TV briefly blanks when playback starts or stops: a display-mode switch can interrupt the picture momentarily.
Use the match frame rate guide for the enable-or-disable decision and a more focused comparison. Persistent signal loss belongs to the HDMI checks below.
Check 4 Match SDR and HDR Output to the Content
Check whether the material you are testing is SDR or HDR before interpreting the result. A device that outputs everything in an HDR format may process SDR differently from a device that matches the output to the source. Selecting HDR does not make SDR material native HDR.
On supported equipment, content matching lets the device use the source’s dynamic-range format. Compare known SDR and HDR material separately. If the TV provides an HDR indicator or input-information panel, use it alongside what you see on screen.
Check the TV’s HDMI Input Settings
Some TVs require an enhanced HDMI input setting for HDR output. Google’s documentation identifies this as a possible requirement. Check the manual for the specific connected port before changing that setting; the label alone is not a substitute for the TV’s supported formats.
The match dynamic range guide covers this decision in more detail. Keep the pillar test simple: identify the source format, check the received output and compare one setting.
Check 5 Keep HDMI RGB Levels Consistent
RGB range is a separate question from SDR or HDR. Full and Limited describe signal levels that must be interpreted consistently at the device output and TV input. Choosing Full is not automatically an upgrade for every TV.
First establish whether the active output is RGB. Do not apply an RGB-specific adjustment blindly to another color format. If the device and TV expose range controls, check their documented meanings; manufacturers do not all use identical labels.
A mismatch can make dark areas look washed out or cause shadow detail to disappear. Use a neutral grayscale test pattern intended for your signal format instead of judging one unfamiliar video scene. If the current picture is correct, avoid changing range just to select a supposedly better option.
The HDMI RGB range guide explains the matching test. Keep this check separate from brightness adjustments and HDR matching so the cause of a change remains clear.
Check 6 Check the Soundbar or Receiver in the Video Path
When video passes through a soundbar or receiver, that equipment becomes part of the compatibility check. Verify its supported video formats and the roles of the ports you are using. A product’s audio features do not establish which video signals its HDMI path can carry.
The streaming device sends video straight to the TV. An audio connection can be considered separately using the equipment’s supported arrangement.
The device connects to a soundbar or receiver input, and that equipment sends video onward to the TV.
If a display mode fails through the intermediate equipment, temporarily compare a direct device-to-TV connection. Keep the device output unchanged. A successful direct test narrows the investigation to the removed equipment, its connections or the affected path; it does not by itself prove which component is faulty.
Use the soundbar HDMI passthrough guide to choose a suitable topology and check the exact model’s capabilities.
Check 7 Identify Where an HDMI Black Screen Begins
Classify the symptom before resetting anything. Does the TV report “No Signal”? Is the device’s home screen missing? Does the picture briefly disappear only when playback starts? Or does one video show black while menus remain visible?
Those observations lead to different tests. A short blank during an output-format switch is different from a picture that never returns. A working home screen shows that the TV receives that output mode, but playback may request a different one.
Check the selected TV input, device power and HDMI connections. If intermediate equipment is involved, compare a direct connection. If the problem began immediately after a display change, use the device manufacturer’s documented recovery procedure rather than guessing a remote-button combination.
The HDMI black screen guide develops this diagnostic sequence. Keep a note of the last working output format and the exact action that made the picture disappear.
Verify Your Streaming Device Display Settings
Useful streaming device display settings are settings you can explain and verify on your own equipment. After each change, return to the home screen, replay the same test material and inspect the TV’s signal information if available. If the change introduces a new problem, return to the recorded working setting before testing something else.
| Changed item | Before | After | Observed result |
|---|---|---|---|
| Output resolution | Auto | A supported fixed mode | Picture visible? Received format correct? |
| Content matching | Disabled | Enabled, where supported | Motion or format changed? Brief blank or persistent loss? |
Keep the final record with your device and TV model details. If a problem remains, that record identifies the output mode, connection path and symptom to report to the relevant equipment or app support team.