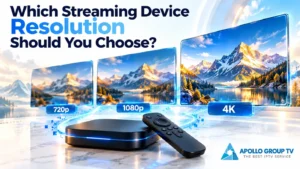
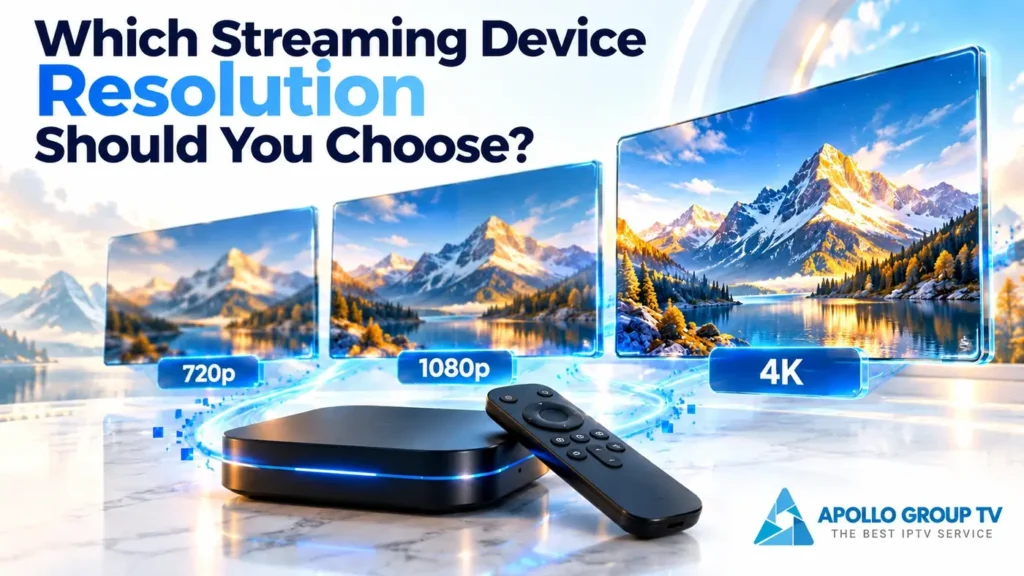
Streaming device resolution should fit the TV input and the equipment carrying the signal. Assess automatic detection first, then compare a supported 1080p or 4K output if there is a reason to change it. The useful choice is one you can verify while the picture remains visible.
When following the setup guidance on apollo tv group, keep service access separate from hardware output. This selection belongs to the streaming device’s display controls. It does not determine your subscription, the source video’s detail or which application is available on a particular device.
Check your model’s available options. Menu labels and supported modes depend on the device, software, TV input and connected equipment. Auto, 1080p and 4K are three common choices to compare here; your menu may offer other resolutions or several modes with the same resolution.
Identify Which Resolution You Are Changing
Start by locating the control in the streaming device’s settings. A TV picture-size setting, an app quality selector and a device output selector do different jobs. Before testing, write down the current output mode exactly as displayed.
The source video has its own resolution. The device sends an output signal to the TV, and the TV has a physical panel with its own pixel dimensions. Those values can differ. Seeing a 4K signal at the TV input does not prove that the original video contains native 4K detail.
For example, a lower-resolution video can appear within a 4K output signal after scaling. The input-information panel describes what the TV receives, not necessarily the video’s original dimensions. The guide to IPTV video quality explains the source characteristics that also affect the image.
Check the exact TV input’s supported formats, especially when a receiver or soundbar sits between the device and screen. The TV panel’s headline resolution alone does not establish which modes the complete connection can carry.
Streaming Device Resolution: Auto, 1080p or 4K?
Choose a starting point based on your setup and the question you are trying to answer. Automatic detection handles mode selection for you; a fixed mode lets you assess a particular supported output. Neither is a guarantee of better source video.
| Option | When to consider it | What to verify |
|---|---|---|
| Auto | Assess the device’s detected mode before making a manual change, especially when the picture already works. | Check the selected output and the format received by the TV. Auto is a selection method, not a specific resolution. |
| 1080p | Use a supported fixed output for a Full HD input or a controlled comparison with a higher mode. | Record refresh rate and SDR/HDR status too. A successful 1080p test narrows the comparison without identifying a faulty component. |
| 4K | Consider it when the device, connected TV input and intermediate equipment support the selected 4K mode. | Check the actual received signal, picture stability and recovery method. Keep source resolution separate from output resolution. |
A working Auto result: if detection selects a supported mode and the picture is clear and stable, a larger manual setting needs a concrete reason. Avoid changing it solely because another entry sounds more advanced.
A useful fixed-mode comparison: if a higher mode causes a display problem, test a supported 1080p mode while preserving other selectable output properties. If those properties are bundled together, record the full change rather than attributing the result to resolution alone.
Check What Is Actually Reaching Your TV
Read the selected mode in the device settings, then open the TV’s signal-information display if it provides one. Compare the reported input resolution and refresh rate with the device’s selection. Use the manual to find that information rather than assuming every TV has the same menu.
Check once on the device’s home screen and again during the test video. A device or app may change output format for playback. A mode that works for the home screen therefore needs a playback check as well.
For a useful observation, record “TV receives 1080p” or “TV receives 4K” alongside the active refresh rate and SDR/HDR indication, where available. A general “4K” content label inside an app is not equivalent to checking the HDMI input signal.
If the selected mode and observed signal do not line up, document both before changing another setting. The wider guide to streaming device display settings places resolution alongside content matching, color output and the connection path.
Change the Output in One Controlled Test
Use one familiar test video and compare the same passage. Keep the app, TV input and connection path unchanged. A scene you recorded yourself avoids depending on an unfamiliar title or a content label when judging the result.
- Save the baseline. Note the full working output mode and the TV’s reported signal before selecting anything else.
- Choose a supported comparison. Check the device and TV input documentation, and identify how the device cancels an unsuccessful change.
- Inspect the whole mode. Preserve refresh rate and SDR/HDR output where the controls allow it. Record every difference when they do not.
- Observe the result. Check that menus remain visible, replay the same passage and inspect the received signal.
- Keep or revert. Retain a mode that solves the specific issue you tested. Return to the baseline when there is no useful improvement or a new problem appears.
A display mode can bundle several properties. Moving from a 4K mode to 1080p may also change refresh rate or HDR behavior. When more than one property changes, report it as a mode comparison; you have not isolated resolution as the cause.
A Documented Roku Display-Type Example
Roku describes Display type as a combination of resolution and frame rate. Its official guidance on display type and HDMI compatibility provides this procedure:
- Press Home on the Roku remote.
- Open Settings → Display type.
- Select the intended supported type and press OK.
- When the confirmation picture appears, choose Yes, I can see it to retain that setting.
Record the resolution and frame rate represented by the selected type. Treat this as a Roku example, not a menu path for other streaming devices.
Restore a Working Mode If the Picture Disappears
First distinguish a brief mode-switch blank from a picture that does not return. Follow the device’s documented confirmation or recovery process. Avoid pressing through an unseen confirmation screen just to keep an unfamiliar output mode.
For the Roku display-type procedure above, the official documentation says the player returns to the previous setting after 20 seconds if no picture appears. That timing belongs to this Roku example; do not assume that another device uses the same interval or recovery behavior.
When the picture returns, record the mode that failed and the mode that worked. If output cannot be restored using the documented procedure, the HDMI black screen guide covers the broader signal-path diagnosis.
Keep your chosen streaming device resolution with the TV input, refresh rate and connection-path notes. Together, those details describe a repeatable setup and give you a useful baseline for the next device or software change.